Soooo yeah, this dress.....I have a lot of mixed feelings about it. They say the road to hell is paved with good intentions and I think sewing is sometimes like that. Except its the yellow brick road of franken pattern options. "Circle skirts, and piping and buttons, Oh My!"
I'm 100% sure that some of you are scratching your heads and thinking, "What the hell is wrong with this dress? Heather you are cray, cray." Super cray cray I know, because on the hanger this dress looks cute to me too. The color, the little white details and the skirt, all of it is a win. Sitting here now I can picture several people rocking this dress, but I don't really like it on me. It's a little "too cute."
It took the Pinup girl website to make me realize what I should have done. Gored skirt and ruched detail at the bust. Argh so close! Personal style can be a tricky beast some times. Especially when you think you like what you don't actually like. What is up with that brain?
While I went a little too far out of my personal style zone, this dress might be your cup of tea. Here are all the deets if you'd like to make one of your own.
Bodice - Cambie hacked into a princess line bodice. See below for the tutorial on how to do that. My bodice is fully lined with some Siri lining.
Skirt - Full Skirt option from Butterick 6019. It's pretty much a standard half circle skirt so you could also draft your own. I had to take just a hair (1/4") off the side seams of the skirt to get it to fit to the bodice. Butterick 6019 does not come with pockets, but it was easy to insert some standard pocket bags into the side seams. I borrowed the pockets from Simplicty 2444 to do this.
To wrap this up let me show you how to convert the Cambie bodice into princess seams. This is very basic pattern drafting stuff, so I apologize if it seems like a no brainer. I wondered a bit if this technique was worth a tutorial at all. In the end I decided yes because a sweet heart princess line bodice is the perfect starting point for so many other hacks. For instance this tiki number, or this polka dot modcloth design. Eh see, good stuff. So let's get to it....
Tutorial - Changing darts to princess line seams on the Cambie Bodice
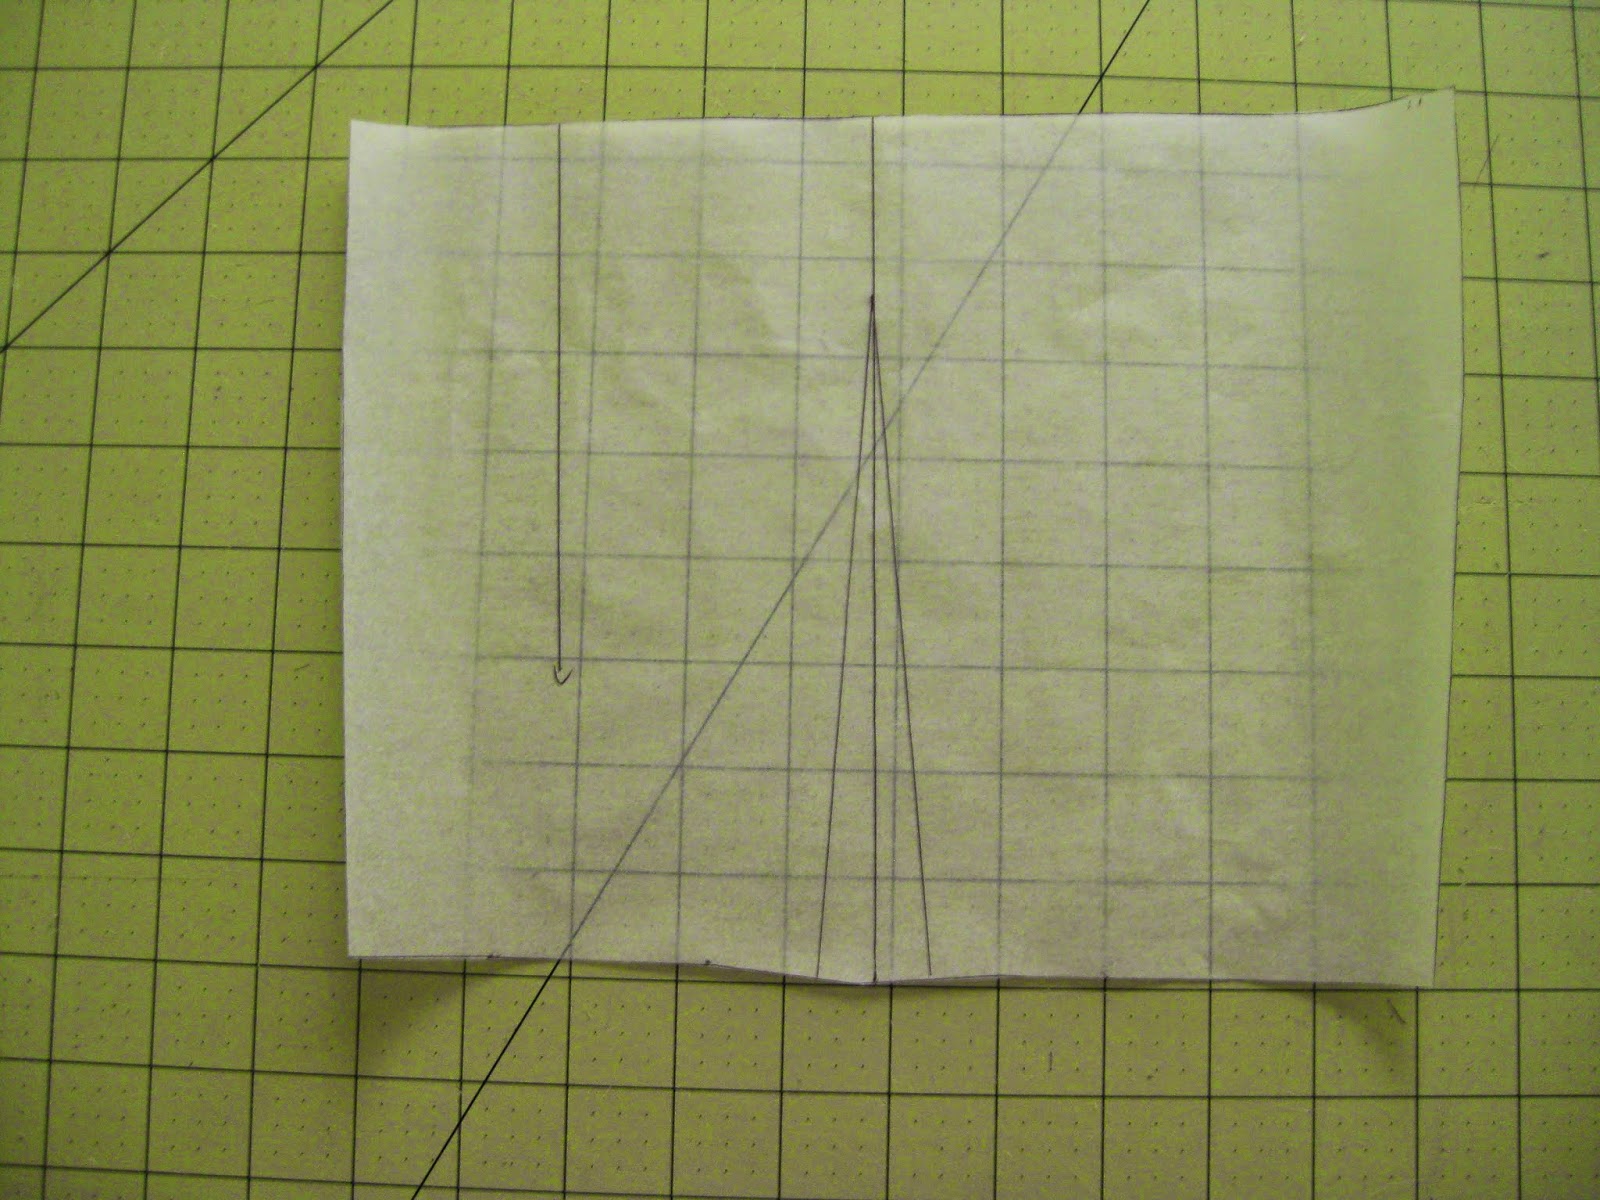
1. Starting with the front bodice, find the center of the dart intake and mark.
2. Draw a line from that mark, through the dart point and up to the neckline of the bodice.
3. At this point you might want to tweak the sweet heart seam line to a slightly rounder shape since a seam line will be going through it.
4. Once any neckline changes are complete, cut the pattern apart along one dart leg, then along the newly drawn line.
5. Next cut off the rest of the dart intake.
6. Go in and smooth out the "points" left by the top of the dart. You want the new seam line to be nice and smooth.
7. Time to convert the darts on the back, but first we need to cut down the pattern piece. Using the top of the side seam as a guide, square a line across the back.
8. Cut the back pattern along this line and discard the top half.
9. Now we'll do the same steps on the back that we did on the front. First mark the middle of the dart intake.
10. Draw a line through the intake mark, dart point and up to the top of the pattern piece.
11. Cut the pattern apart along one dart leg, then along the newly drawn line.
12. Next cut off the rest of the dart intake.
13. Smooth off any points left by the tops of the darts. On the back this might not be noticeable because the dart is a smaller size.
14. Now that the shaping of the seam lines is complete, you need to go back and add seam allowance to the new seam lines. Once SA is added the bodice is ready to sew.
*Bonus step - You can put any kind of strap on the bodice, but if you like mine the dimensions are 5" x 15.5".
Extra bonus step - Put on dress. Parade around local public areas and have the local residents come out of their houses to stare at you. Don't mind me, just being awkward. Carry on with your lawn mowing sir.


