Almost there 1940's dress hackers. You've created/modified some insets, converted your bodice to a wrap and added some shoulder tucks. Today we'll cover the final steps to modify the sleeve. First up, shortening the sleeve to a cap. Then the final touch of adding ease to the sleeve so that it can be gathered up into a pretty poof. To do these steps you'll need the following pattern piece:
*Sleeve
Shortening the Sleeve
How to covert 3/4" into a cap.
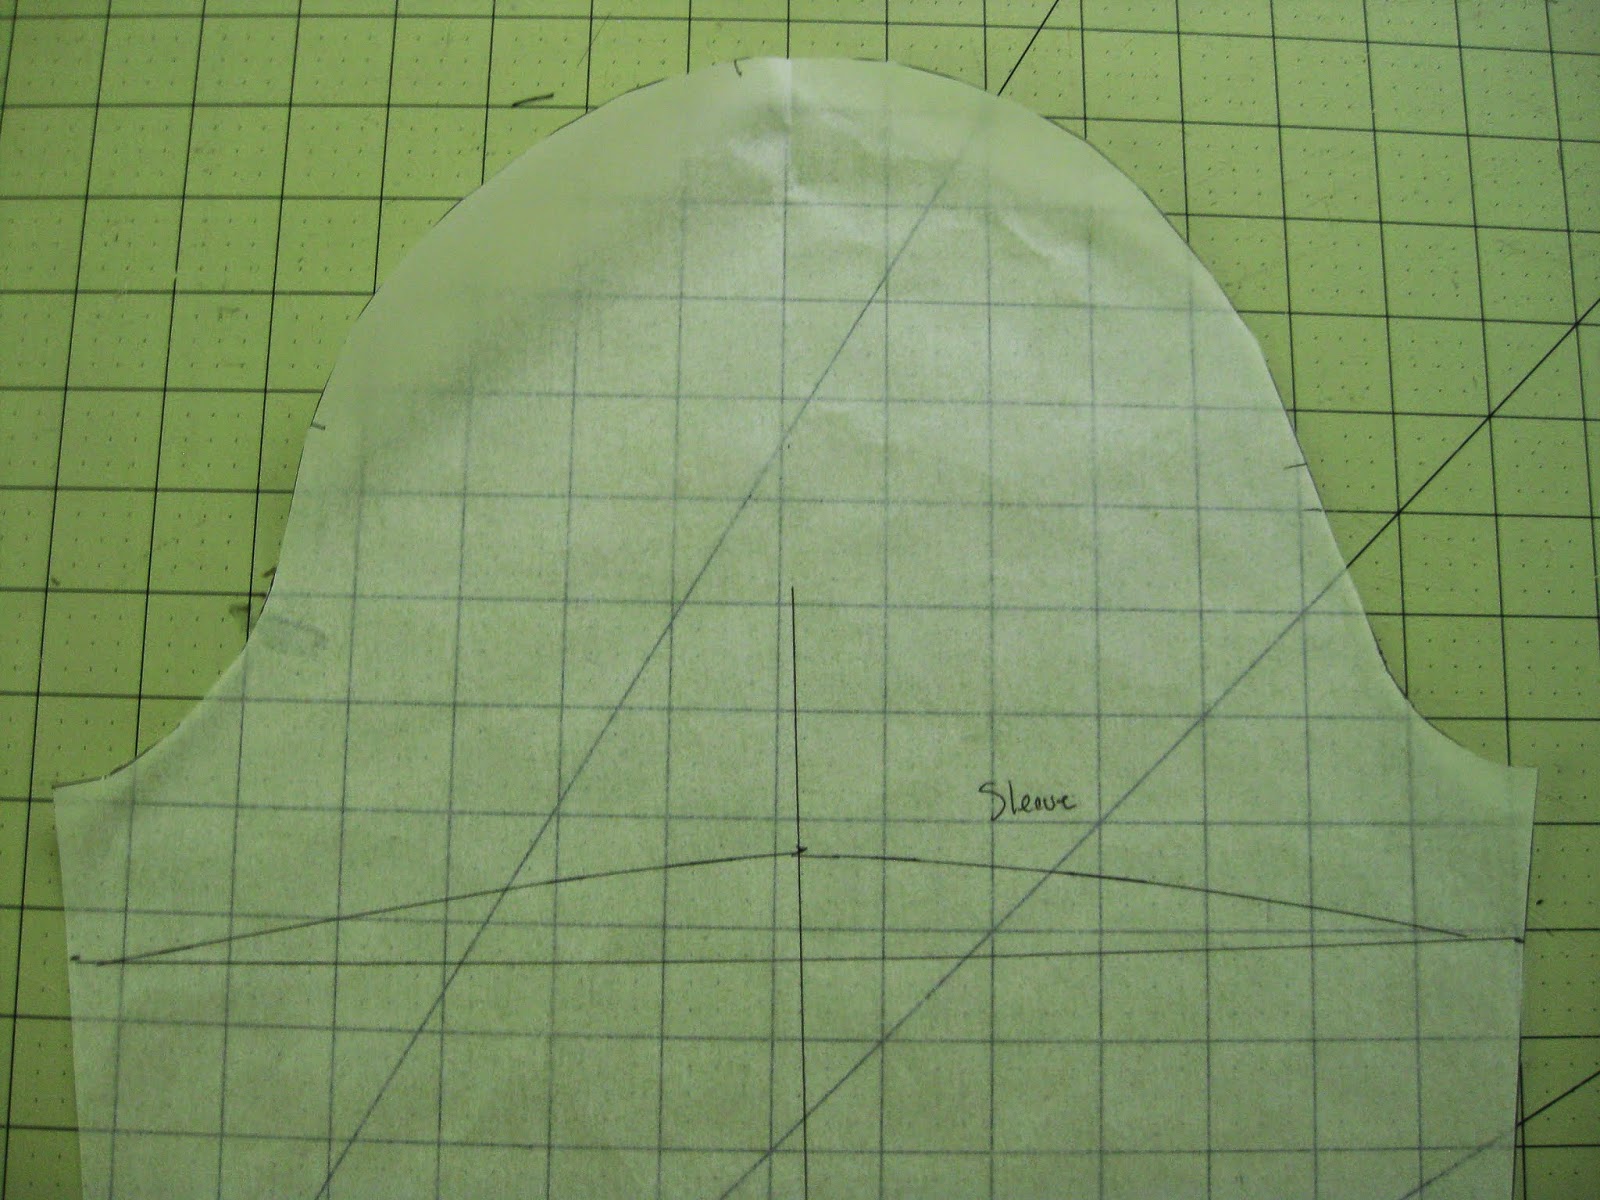
1. Take a traced copy of the sleeve and measure 1" down from the top edge of the side seam. Repeat on the other side.
2. Using the new marks square a line across the sleeve.
3. Find the center of this newly drawn line and mark. From the mark draw a vertical line through the sleeve cap. Mark 1" up on the vertical line. Note: The measurement of an 1" here is arbitrary. If you like the sleeve to be smaller you can increase this measurement and continue with the same steps.
4. Use a french curve to redraw the hemline of the sleeve. Cut off the excess length.
5. Now we will reduce the sleeve cap height. Using the same sleeve center line measure an 1" down.
6. Redraw the sleeve cap curve with a french curve.
7. Redraw any notches if needed and then cut off the excess. This change will make the sleeve sit out farther from the dress which will complement the gathers we are about to add.
"Puffing"/Adding ease to the sleeve
We are going to slash and spread again to created gathers.
1. Evenly space about 3 marks across one half the cap of the sleeve. I used the measurement of 1.25" to space my marks. If you want less ease added to the sleeve then make fewer marks. More ease then add more marks.
2. Repeat step one on the other side of the sleeve cap.
3. Draw lines through the entire sleeve at each mark.
4. Cut each line from the sleeve cap almost all the way through. Leave a "hinge" at the cuff edge. You can see I did not cut the center line. You can chose to cut this to add additional ease or leave it uncut. When you are done cutting then fan out the cut areas a bit.
5. Place a large piece of paper behind the sleeve. Tape down the center and then spread each cut area .5" wide. Tape down at this measurement.
6. With a french curve go redraw the sleeve cap to a smoother curve.
7. Cut out the adjusted sleeve and you are finally done all the 1940's dress modifications. Hooray!
When sewing the sleeve, take the sleeve cap gathers and cluster them around the shoulder seam area. The rest of the sleeve should be set in smoothly. To finish the sleeve hem edge use Gertie's tutorial on using piping as a facing. You can use store bought piping or use some self fabric to make your own.
OK folks, that was an intense 3 day course and I hope you found it informative. If you have any questions or need clarification feel free to comment/contact me. I will do my best to answer between surfing the internet for T-strap shoes. ;)


I wish I could tell you that I have been hacking and sewing a long, but I have not. But now I know what to do when I decided to make this dress. I love the piping on the sleeves! Have fun searching for T-straps!
ReplyDeleteIt's all good Heather. :) Everyone one has a sewing list a mile long. I'll be lurking here when you have time.
ReplyDelete