As someone who hoards a lot of fabric it's no surprise that there are several pieces "waiting for the right pattern to come along." Yes I know this is a recipe for disaster ending with adult Desmond chucking yards of fabric in a waste bin while grumbling about his mother. (Don't do it future Desmond, I will come back and haunt the poop out of you.) The horror of my pretties being incinerated should light a metaphorical fire under my butt and it often does. However there are certain yardages that seem to be immune to this. They are still waiting for their perfect pattern and every once in awhile that right pattern does magically appear This was the case when the Veronica coat popped up in my IG feed in mid December. I immediately thought, "Squuuuueeeee, this is the perfect thing for the 3 yards of plaid magenta coating that has been in the stash forever."

This fabric is so old that I'm not quite sure how old. It predates both my son and the purchase of our house so it's at least 6 years, but could be a little older than that. Those of you with 15-20 year old pieces in your stash are laughing at me right now. ;) For my stash this is pretty much the bottom layer as long as you don't count the accumulated years of inherited pieces of fabric. This coating was originially purchased from Emmaonesock.com in one of those, "It must be mine......I don't care what it costs....take my money please," sort of moments. Between the lovely colors and the plaid being woven on the diagonal it was too awesome to pass up. It was also too awesome to sew. No pattern pairing ever seemed right for it, which is why it was still sitting in the back of the closet in late 2015.

Thrilled to have finally found this fabric's pattern mate, the PDF pattern of the coat was purchased so I didn't have to wait to start it. The pattern was assembled, traced off and a muslin was made in about a week. Can you tell I was excited? Everything looked great so I got out the plaid coating, unfolded and found......it was covered in bug holes. NOOOOOOOOOOO!!!!! This picture doesn't look too bad, but it was actually the heaviest part of the damage being the outside layer when the fabric was folded. The bugs seemed to like the magenta parts and would eat down to the backing layer which is black. You can see the biggest hole in the photo, but there were a lot of smaller one's peppered throughout the fabric. I thought the project would have to be scraped right then and there.

After some self pity induced cookie eating, I took a closer look at the fabric and found that the left side of the fabric was in pretty good shape. Sometimes what looked like holes were actually areas where black fiber had clumped when the fabric was being made. On the flip side more holes were found in the right side of the yardage, which made plaid matching a big concern. Damn you bugs!!!! In the end I just got stubborn and started cutting the coat out thinking, "I am going to make this work!" Long story short, there was enough undamaged fabric to cut all the pieces out and I got pretty good plaid matches. One side seam is off because the plaid repeat seemed to bias a bit at the fabric edges. I could either plaid match the CB or the side seam, but not both. I did find two small bug holes that escaped my notice while sewing. Thankfully neither went all the way through the fabric or was that noticeable. Since there was literally no more undamaged fabric to work with I'm going to call it a win.
After all the drama of cutting out this project the rest of it went pretty smoothly. I did need to thread trace all the buttonhole and pocket placement lines because no marker/chalk/wax showed up on this fabric. Thread tracing was a bit annoying, but it turned out to be good TV watching project. That must have given me the hand sewing bug because it suddenly sewn in interfacing seemed like a great idea! I got out the lightweight horsehair interfacing and and hand sewed it all into the body of the coat 1940's style. Yeah, I don't know what came over me either. After that it was mostly straightforward machine sewing, with the exception of the hems. I did hand sew them up with some rayon seam tape like the instructions suggested. The final bit of drama was the buttonholes. Now my Bernina is an absolute trooper with buttonholes when compared to my last sewing machine. This wool/mohair blend was just a bit more than it could handle, soo sooo squishy. During the 4 hour buttonhole sewing process I was pretty jealous the NY girls who can pay someone to put buttonholes in using an industrial machine. NY ladies, that is money well spent. Saves you from having to use every screaming/crying emoji on your iPad and inhaling so much mohair fluff that you feel like you've been licking goats. I'm sure someone enjoys licking goats as recreation, but I'll pass.

Let me talk about the pattern for a minute. The Veronica coat is what Wearing History categorizes as a "Resto-Vival" pattern. This means it is a vintage pattern that has been slightly reformatted and graded to include a number of sizes. For example this 40's coat was originally an unprinted pattern with holes punched out to indicate darts, grain lines, etc. Wearing History transfered all this info into printed lines similar to more modern patterns. The actual drafting of the garment remains the same, which the exception of there being two sleeve cap options offered. (More on that in the Confessions/Advice area) The directions are also the originals with a few added notes from the Wearing History clearly marked "WH Notes." The 1940 directions are sparse compared to modern ones, but if you have prior coat making experience this won't be a problem. Personally I preferred this sort of reissued pattern to ones where the drafting gets dumbed down for modern sewist. And as someone who barely reads instructions for any project, using the original ones was no problem.
Pattern
Veronica - 1940's Coat from Wearing History. I sewed View 2.
Fabrics used
Wool/mohair coating from the stash.
Warm coat lining from Emmaonesock.com
Pattern changes/alterations
1. 1/2" Forward shoulder alteration to the shoulder and sleeve.
2. I added a 1" pleat to the CB of the lining.
Confessions/Advice
- This is a large PDF pattern. Those of you who feel like PDF patterns are puzzles to put together will be fine with it. There's a printed version available for those of you who think PDF patterns are the work of the devil.
- When you look at the pattern sheet you'll see that there is an modified sleeve cap option towards the top. WH explains that as drafted the sleeve is much puffier than what the fashion illustration shows. They provide the smaller cap that can be swapped and give you the flatter look of the illustration. If you want to be 100% authentic you can trace the sleeve as is and use the original sleeve cap. For my coat I used the modified sleeve cap with the shorter sleeve head.
- I prefer to have some waist definition in my coats, which is why I went with the belted view 2. Some of you don't have the same tastes so I took an unbelted photo just for you.
- I think there is a typo on page 4 of the instructions. There is says most of the pattern has a 1/2" seam allowance but the side seams, underarms and CB all have a 3/4" seam allowance. I found my collar did not fit in properly with a 3/4" CB seam. Went back and made it 1/2" SA and then the collar fit perfectly. (The 3/4" SA was used for the side seams and underarms on my coat.)
- I did forget about that 3/4" SA on the lining and sewed the whole thing at 1/2". Happily the thickness of the wool meant it fit perfectly at that size.
- The lapel buttonhole was left off because I like wearing my collars open. Also because I couldn't face trying to sew another buttonhole and my child had heard enough profanity for the day.
Husband Comment
"What fictional character are you talking to in this coat? Claude Rains? Are you using him or his he taking you for a ride? Also it's got big pockets."
My Final Thoughts
I've been thanking my lucky stars that this plaid coating wasn't completely destroyed by whatever stealthily munching bugs were involved. It would have been a crime against old man winter....or maybe just would have reduced me to eating half a pan of brownies in one sitting. Either way not a good scene.
So far Veronica is in heavy rotation with my blue
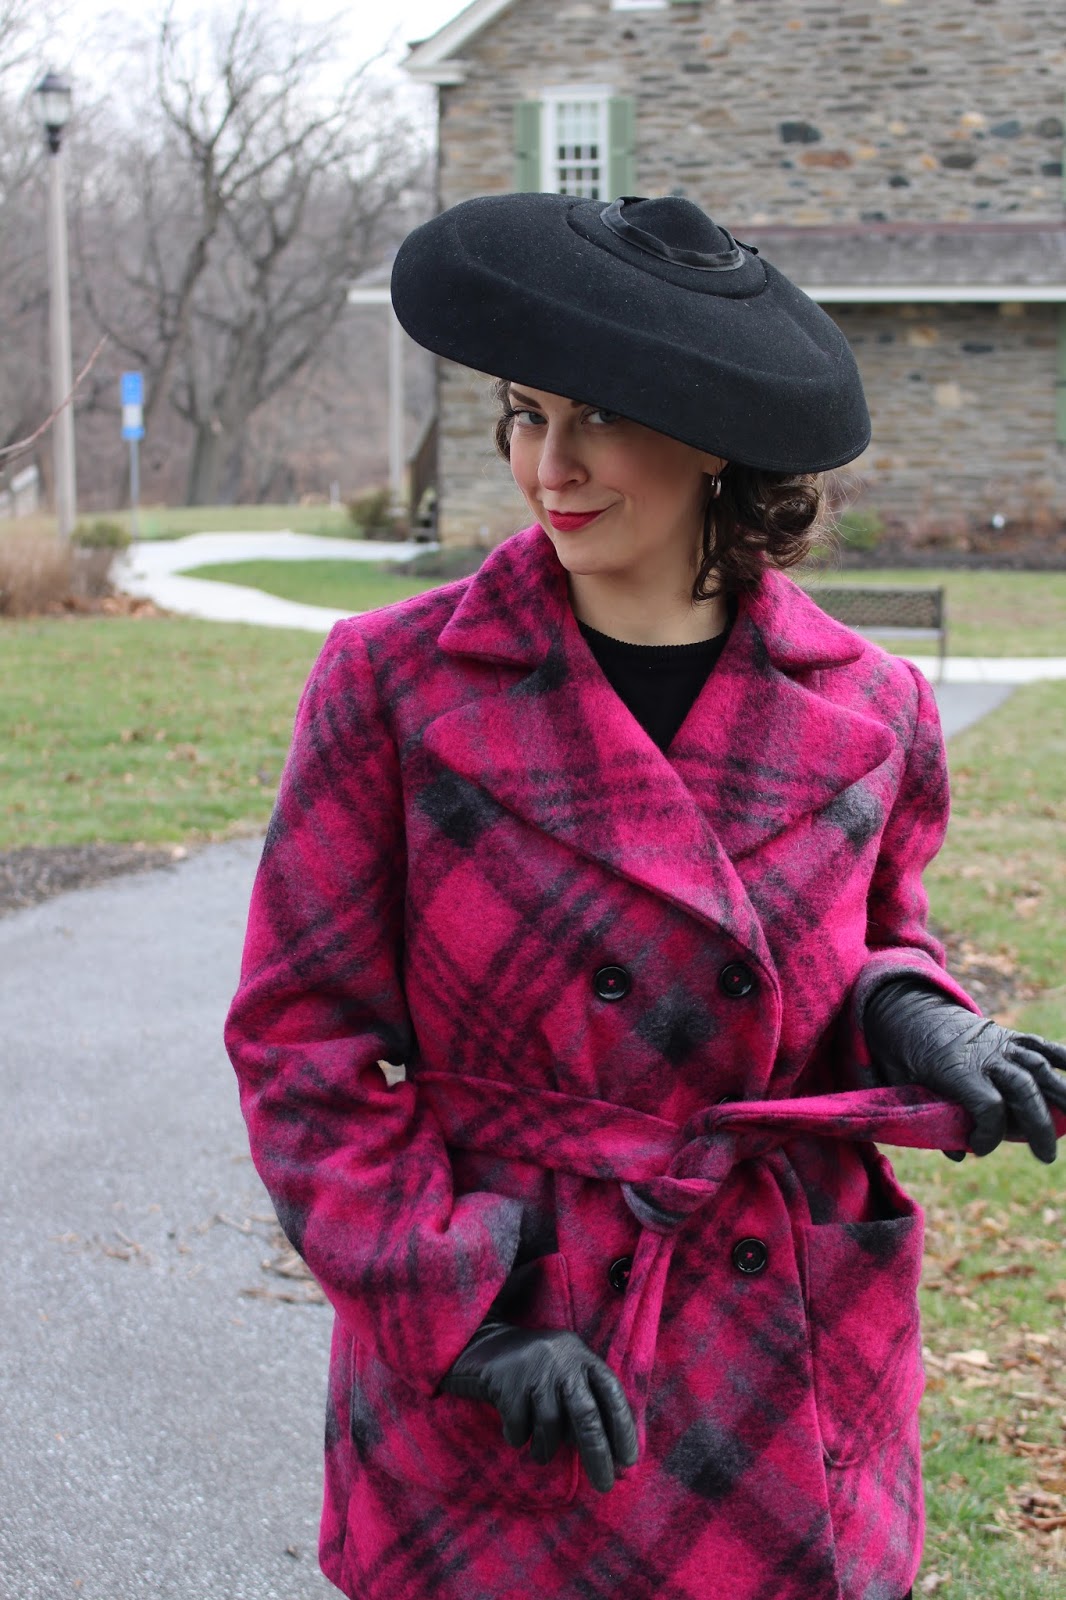
Butterick 5824 and I like having a shorter coat length option in the mix. The big patch pockets are really handy for keys, gloves and about 8 rocks that your kid picked up on the way home from school. He even said, "Ooooo these pockets are so big," as he stuffed a rock into them. Oh and I got to buy a new hat to go with this so winning all around. So with that I'm off to play a dame lurking the shadows in some Film Noir. My pocket full of rocks should come in handy.


No comments:
Post a Comment