Showing posts with label Wool. Show all posts

Lady in Red - McCalls 6800

2.23.2016

Ooooo what's this? Did someone finally wrestle her startitus into submission and finish something? By Grabthar's hammer I Did!  It took a lot of cookie eating, muttering crazily to myself and putting on my "Big Girl Decision Making Pants." One does need bigger pants after so many cookies.
My startitus trouble was caused by the inability to choose fashion fabric. After the muslin stage I hit a wall trying to figure out what fabric to use, get frustrated and start a new project. Then multiply that process a few more times. This problem was a new one to me because Past Heather would have solved it by shopping for more fabric. It's not that new fabric purchases are banned around here or anything. It's just that I've been trying to rifle through the stash first to make sure there isn't something appropriate. Then it seemed like it was always too much trouble to actually go look in the stash. My husband was sleeping the room or it was only 10 minutes until it was time to pick up Des or I felt too tired to pull everything out.  Those of you without dedicated sewing areas know how it is.
In the case of this project, McCall's 6800, I did know exactly what fabric to use but there wasn't quiet enough yardage. I must have spent a week and a half thinking of all the different ways to squeeze this pattern out of 4 yards.

1. Shorten the skirt length like I did on Butterick 5824.
2. Buy some faux fur to use on the collar, hem and cuffs.
3. Switch to the funnel neck option and sew the short version offered in the pattern.

All good options, unless you get stubborn and decide the coat must be sewn like you imagined it. Not living up to being a stereotypical Taurus, not at all.  Anyway, I inconvenienced everyone else in the house by putting 4 yards of 60" coating on the floor and spending a few hours working my cutting layout tetris. "No you can not have any food while I do this. The kitchen is closed....literally because I've blocked the way with fabric."

Aided by the fact that this wool coating doesn't have a visible nap, I rotated all the side fronts/backs in the opposite direction to the middle fronts/backs. Being able to nest the pieces with large skirt sweeps together freed up a lot of yardage. After that the only piece that wouldn't fit was the facings. Being so close to victory I decided to piece the facings together at the waist thereby using the two small chunks of yardage that was left. Voila, my stubbornness paid off. "HA HA! I Told You I'd Make It Work," I yelled at nobody in particular. Des just sighed and asked if he could finally have a snack now. (He'd eaten 4 things in the previous hour so don't feel sorry for him. He's got his mother's "must always be foraging" genes.)
Now that I've woven my tale of fabric cutting drama let's talk about McCall's 6800 a bit. This is one of those patterns that popped up on my radar after seeing some FO's appear on the internet. My interest was peaked enough to go have a gander at the technical drawings and Holy Cow this is Big 4 patterning done right.

1. Pattern Comes With A Two Piece Sleeve! Granted coat patterns with one piece sleeves might be my own personal pet peeve instead of a conspiracy of lazy drafting. Seriously though it's better drafting for outerwear meant to be sewn in a heavy weight fabric.

2. Collar and Hem Options Huzzah! This is the sort of thing that fills me with goodwill towards a pattern. When you're working from the block these sort of variations don't take too long to draft. But if I was trying to reverse engineer a coat with lapels to higher neckline it would be a total pain in the ass.

3. Additional Design elements. Just having the various collars and hems was swell but they didn't stop there. The pattern also comes with a button in hood or faux fur collar and a belt option. Good on you McCall's, this pattern is stuffed with ways to customize your coat.

I do have two very minor niggles about the pattern. The first is that the pocket bags are very shallow. I subbed in the ones from Butterick 5824 since they were perfect.  The second is that the button placement might be a bit too far apart.  I say might because I'm not 100% sure that my button choice isn't to blame. Anyway both of these "problems" are easy to fix and do not detract from my obvious love of the pattern.
My version is mostly View B. Instead of the waterfall hemline the straight hemline from View D was swapped in.  I also decided to put the pockets in the side seam area instead of using the front princess line seam. The pattern marks pocket placement in both locations, so that's easy peasy. You'll see in the review area that I also lucked out and didn't have to do many fitting alterations on my muslin. In fact the only Oops moment was not accounting for the weight of the skirt changing the fit around the waist.  My muslin fit perfectly, but in the heavier wool that area had lot more ease than I was looking for. This would have been slightly less of an aggravation if the lining hadn't already been sewn closed. Derp.  In these photos the side seams have been taken in about 1.25".  Afterwards I went back and took in the CB seam about 1" and moved that top button a bit.

Pattern
McCall's 6800 Model is like, "I can't hear you over my sassy coat."

Fabrics used
Italian Wool Flannel coating originally from Gorgeous Fabrics. I bought mine in 2013 but they seem to stock it regularly every year. This is the same coating that I used for both Butterick 5824 and the Ottobre coat I made for my sister.

Rayon/Acetate Lining. Also a stashed GF purchase but they seem to have it/something like it still in stock.

Pattern changes/alterations
1. Blended together sizes 16 and 18.
2. Made my standard 1/2" forward shoulder adjustment to both the shoulder and sleeve.
3. Took in the back 1" spread evenly between the side back seams.

My on the fly alteration of the waist was to curve in the seam just at the waist area.  I took a total of 1.25" out at each side seam and 1" out of the CB seam.

Confessions/Advice
- If you're using a medium weight wool like me I'd suggest fitting the muslin very close to the waist. The weight of the skirt will pull the waist area out giving you more ease.

- If you don't sew muslins then don't be like me and do a final fit check after sewing the bottom of the lining to the coat. You know so you don't have to rip up a bunch of hand sewing to take in some side seams.

- I am wearing a petticoat in these pictures to fluff the skirt out a bit. The coat does look nice sans petticoat but I forgot to take any pictures.

Husband Comment
"Hey princess, I like all your seams." Then he grabbed the lapels and folded them up towards my neck and asked why there wasn't a button there to secure them.  I think he must have been sneakily staring at the technical flats.
P.S - We had a disagreement that my scarves wouldn't fill in the neckline area.  Feast your eyes on the photographic evidence Steve. ;)

My Final Thoughts
You already know I think the pattern is pretty great. Lots of design options, great drafting, you can buy it on sale right now for 3.99 on the McCall's website. The only downside might be the amount of yardage you need for the longer view. If you don't have 5+ yards of coating in your stash, Gorgeous Fabrics does have all the Italian Wool Flannel Coating on sale right now for $15.00 a yard. I'm sure Fabric Mart has some even better deals on coating if you do a bit of browsing.  And with that I will stop being an enabler and leave you with the sort of twirling picture necessary when full skirts are involved. Until next time my friends.

Sewing with the Pattern Stash - The Frankenpattern

3.09.2015

In the last post I talked about a few ways to sew with patterns that are already in the stash. Like many of you, this is an area that I have problems with. A brand new pattern often seems more exciting than a pattern bought last year. That new pattern doesn't have any "planning baggage" yet or been mentally sewn it up in my head several times.* It's new and shiny and I love it soooo much, until the next thing comes along.....and there's always a next thing. Ummmmmm, it's a bit problematic.

Since I'm the Stash busting theme host it seemed only fair to put my "money where my mouth is" and sew only stashed pattern this month. Luckily for me a really fun Frankenpattern idea popped into my head and got the ball rolling. Let me present a mash up of the Elisalex bodice and Burda 6834 flounce skirt. It's business time flamingo dancer.
Now you all know my fabric stash is large, but I have a pretty good memory about what's in there. Rarely do I stumble across something that I have no memory of purchasing.  However during this fabric cull I found 2 yards of red wool crepe that was a complete surprise. As frog is my witness I did not buy this fabric. Most likely it came from my grandmother's insanely large stash and she sneakily stuffed in a box for me. Well played grandma, well played. Also you knew what I liked and I wish you were still around to give me side eye about what I pay for fabric. Grandma didn't pay retail, she bought auction lots. Lots of them.
Grandma's wool crepe knew what it wanted, just like grandma, and told me to combine these two patterns. Not that I needed to be talked into it. Slim red dress with a fun flounce? Yes please! Since both patterns have princess line seams they were pretty easy to fit together.  Here's how I went about it.....

1.  The first version of Burda 6834 I made sits below my natural waist. It seemed prudent to add some additional length to the pattern if it was going sit higher. Two inches of length was added to all the skirt pieces at the lengthen/shorten line. (I could have gotten away with half that length.)

2. The Elisalex bodice was walked along the waist seam of the skirt to compare the princess lines seams. The skirt princess line seams were moved to match the bodice's.  The front skirt matched without any changes and the back needed a slight tweak.

3. After the princess lines were adjusted, the side fronts/backs were walked along the waist seam. A sizable amount, around 3/4", needed to be removed from the skirt side seam.

4. The skirt has an angle in the princess line as a design feature. I decided to smooth this out into a curve by adding a bit to the side front seam line and removing a little from the center front seam line.
After doing that bit of pattern making work, the two patterns matched perfectly.  I had very little trouble sewing the dress, other than some goofy mistakes sewing back skirt pieces in the wrong way. Oh the hazards of fabric with no wrong side and late night sewing. If the flounce seams hadn't lined up oddly I might have never noticed the problem.
This baby looks great in photographs, but there are a few confessions that need to be made......

1. The lining shows through.
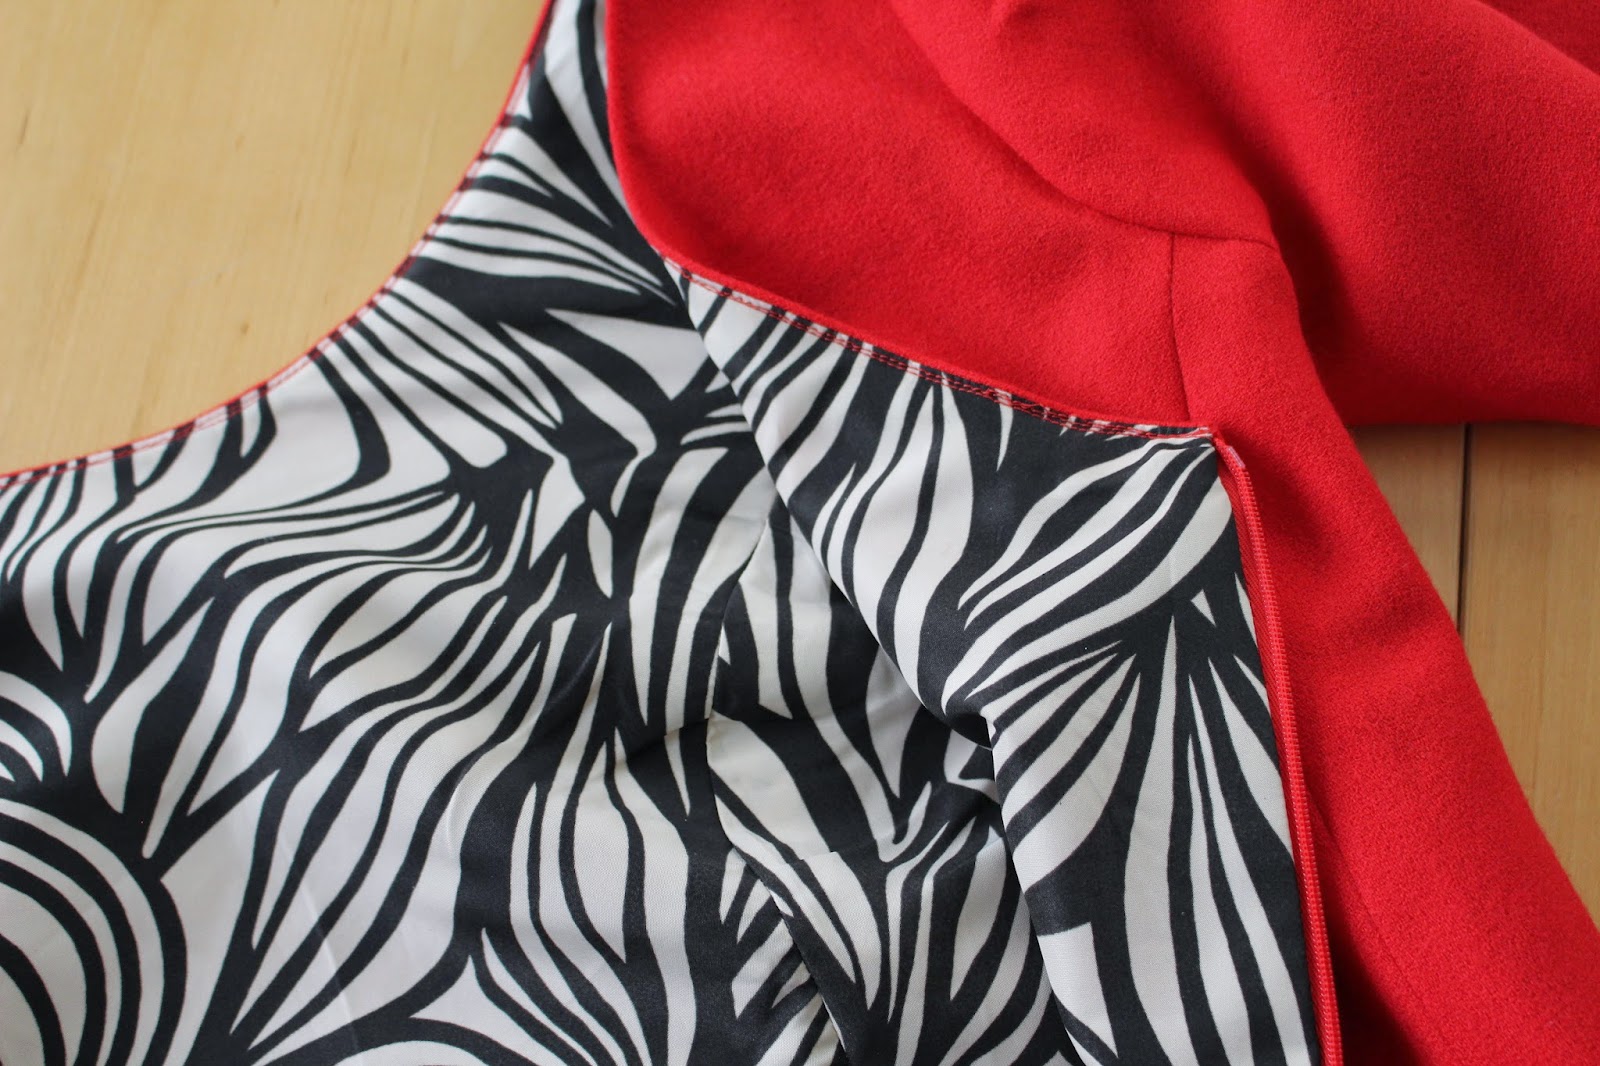
I didn't even think to check this since there were no issues with lining my Christmas dress. It's not too noticeable in the photographs, but in real life you can clearly see it.  As fate would have it, the see through affect wasn't noticed until the entire dress was almost finished. At that point I decided it was a "design element," like a lace overlay or something.  Yeeeeah, I know the lining should be switched out but I'm not gonna do it.

2. Not all fitting changes were transferred to the pattern.
OK here's the deal. The Elisalex bodice was made in a larger size for the red roses dress in October 2013. Some time last year I'd traced a smaller size and "thought" I'd sewn it up into some garment. Wrong, the smaller size never got sewn up till now and I certainly forgot to transfer over some armhole adjustments. The armhole is very tight and lining it didn't help the situation. Oops.

3. Stretch woven and non stretch woven do need different amounts of ease.
Another big oops on my part since this fact didn't cross my mind pre cutting.  Both of these patterns had previously made with a stretch woven, but I'd forgotten that fact. When I put on the red dress there was a moment of, "Why is this tight across the back and the hips.....oh yeahhhhh no extra stretch."  In hindsight I should have muslined this dress to double check the fit in a regular woven.

4. No amount of under stitching, clipping or pressing would keep the lining from rolling out of the neckline.
I finally had to top-stitch the edge of the neckline to stop the lining from peeking out.  Growl. Having top-stitching in one location seemed odd. I decided to top-stitch the sleeve hems and skirt hem to balance out the garment.
So that's the knitty gritty on my slight fitting fails. What I should take away from this is to always muslin pattern mash-ups just to be sure. Now you know why I make all those muslins and have a quality control Frog. Wait....shouldn't he have told me to drop the armholes? Lazy frog.

Other than a bit of tightness in the arm holes, the fit isn't that far off. It's probably only something I'd be concerned with. "Oh no, it's 1/4" too tight, The Horror!" This dress is still going in the win column since it makes me want to do something like this all the time. Wheeeee dancing!
Hope everyone who is participating with the theme is having good luck so far. Many of you commented with excellent plans. May the sewing goddess bless you with plenty of machine time to crank out these projects.

*Why doesn't mental sewing result in a real garment? Science get working on that. Not like you need  to cure cancer or anything. Sewing is now your Top Priority.
Proudly designed by Mlekoshi pixel perfect web designs